How to Teach the Location of Ancient Civilizations to Sixth Graders
Not sure where to start when teaching ancient civilizations? This post is for you!
Many teachers often ask (especially in online groups) for exciting activities to introduce new units to their students. While sometimes this is very effective, my experience has shown me that this is often unnecessary – for two reasons.
Many teachers often ask (especially in online groups) for exciting activities to introduce new units to their students. While sometimes this is very effective, my experience has shown me that this is often unnecessary – for two reasons.
First, when we are often pressed for time to cover all of our content, we must make sure we are making to most of each lesson and don't have time for lots of fun lessons. And second, I firmly believe students are going to be excited about starting any new unit, if their teacher is excited to teach it.
The first step to teaching any ancient civilization, is to cover the location and geography of the region.
In this post, you’ll learn the exact steps I take to teaching ancient civilization locations to my sixth graders.
Ancient Civilization Lesson Sets Available in my TpT Store
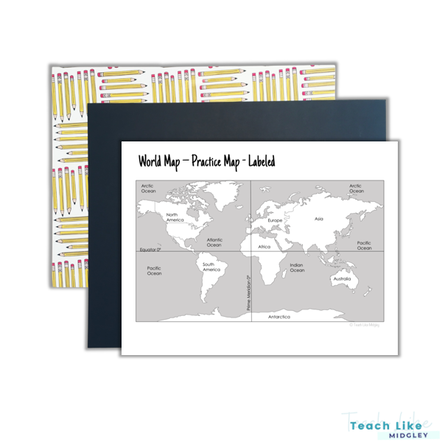
Start With A World Map
The first step to teaching location is always beginning with a world map. We first discuss where previously studied societies are located – and use color coding techniques to help reinforce this knowledge.
Students each get their own half-sheet of paper that contains a map and civilization names – but only the ones we’ve studied so far plus the new one we are about to start. Students glue them into their notebooks.
Students each get their own half-sheet of paper that contains a map and civilization names – but only the ones we’ve studied so far plus the new one we are about to start. Students glue them into their notebooks.

Continent Locations Activity available in my TpT store.
Identifying the continent is extremely important – you may be surprised to realize this, but many sixth graders still struggle to remember the difference between continent and country.
This is another good reason to start the first of the year with a World Map Test that covers the 7 continents and major oceans. This is a great addition to your Prehistory Unit.
Starting every unit with the same consistent activity and color coding will go a long ways to reinforce the continent names and location for your students.
World Map Test Set for your Prehistory Unit available in my TpT store.
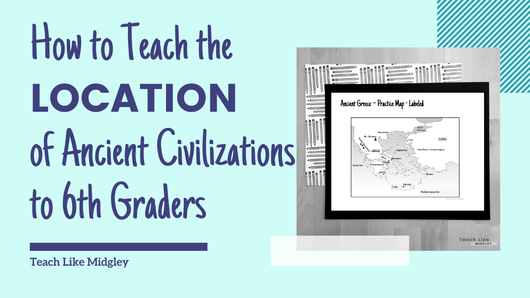
Geography of the Region
The next step is identify the geography of the location. This starts with another blank map of the region that students glue into their notebook.
Using my document camera, I work with students to label important geographic features of the map and use colored pencils – we trace rivers in blue and mark deserts with yellow, etc. While we work I share small facts about the landforms with students to help them make connections about what life was like for people in that area.
In addition to the map work in our notebooks, students receive a map of the region labeled with geographic features, bodies of water, and present-day countries. They also receive a blank map for practicing – for in 2 weeks they will take a Map Test.
This Map Test typically falls in the middle of our 4½ week unit. You can learn more here about Teaching Location with Maps.
Over the next several days especially, we revisit the features of the map as we learn about the stable food supply and daily life of the people of the civilization.
Another bonus, the maps provide an excellent time filler if needed – got an extra 10 minutes of class? Pull out your maps and study with your neighbor!
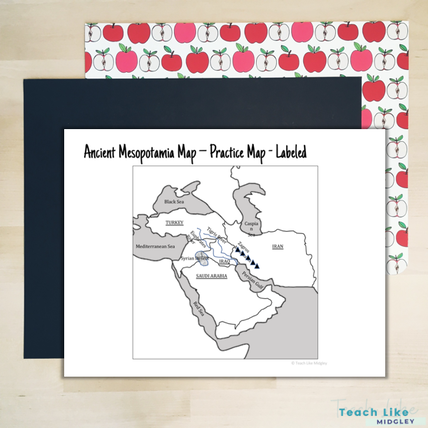
Ancient Mesopotamia Map Set available in my TpT Store
Core Content
Up next is providing students with core content about the location of the ancient civilization you are about to study. This could come in many different forms: textbook, supplemental readings, learning magazines, online resource, etc.

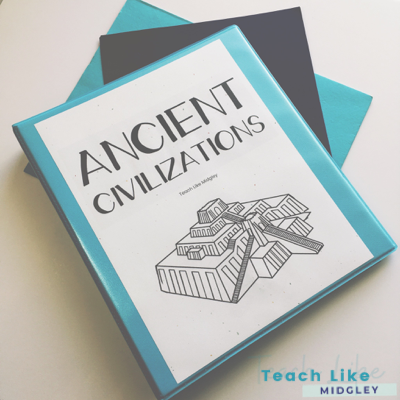
If you’ve been around here for a while, then you know that when I started teaching sixth grade, I had little to no resources available to me. This experience has been my motivation and driving force behind writing this blog and creating ready-to-roll resources for teachers like you. Each of my Ancient Civilization Lesson Sets comes with a reading passage and a PowerPoint presentation to help you provide core content to your students.
You will also want to make sure you identify key vocabulary terms that students should know to help them further their understanding.
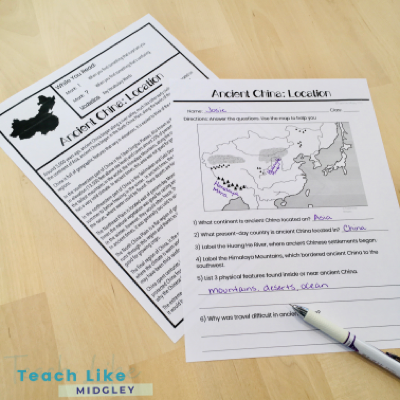
Part of the Location of Ancient China Lesson Set available in my TpT store
Student Processing Activities
After students have been presented with the core content, next they need the opportunity to process and work with the new information. Writing summaries, completing diagrams or charts, manipulating material in different activities or a worksheet that reinforces key concepts are all excellent choices.
Answering questions using a map of the region, complete with questions that encourage students to make inferences about the impact of geography on the people, is always a good choice.
Another great way to have students work with new content is to have them complete an activity in their interactive notebook with a foldable activity or exercise.
Each of my Ancient Civilization Lesson Sets comes with an worksheet and an activity. While the worksheets are intended to reinforce key concepts, the activities are designed to help your students take the material one step further in their level of thinking.

Part of the Location of Ancient Egypt Lesson Set available in my TpT store
Reinforce Key Concepts
The final step to teaching the location of ancient civilizations is to CONSTANTLY revisit and reinforce key concepts.
Every day, every lesson starts the same way, with a brief review of what we’ve already studied. Sometimes this looks like rapid fire questioning while I collect homework. Other days it’s a brief summary.
But it also includes going back and asking students to recall information during new lessons. Especially when we learn about stable food supply, we are talking about what we already know in terms of location and geography.
You may find your students are struggling to remember certain things, this is a flag for you, that they need more practice with the content. Maybe some extra vocabulary work may benefit.
As you progress in your lessons, you also want to help your students take their thinking to the next level and utilize advanced questioning. For each Lesson Set, I developed a set of 5 Questions that follow the lines of Bloom’s Taxonomy Questioning Techniques.
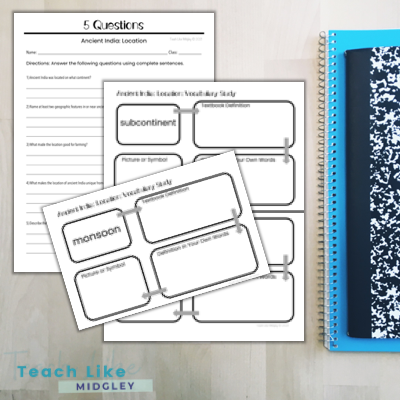
Part of the Location of Ancient India Lesson Set available in my TpT store
Ready to Roll Materials
Now you know exactly how I teach the location of ancient civilizations to my sixth graders and you are ready to do the same!
But if you are struggling to find the materials you need – well, you know I’ve got you covered! No matter which unit you are about to teach, check out my TpT Store for all the Lesson Sets designed to help you teach location!
You may also be interested in my Continent Maps that I start each unit with and the Map Test Sets to get your students learning those geographic features.
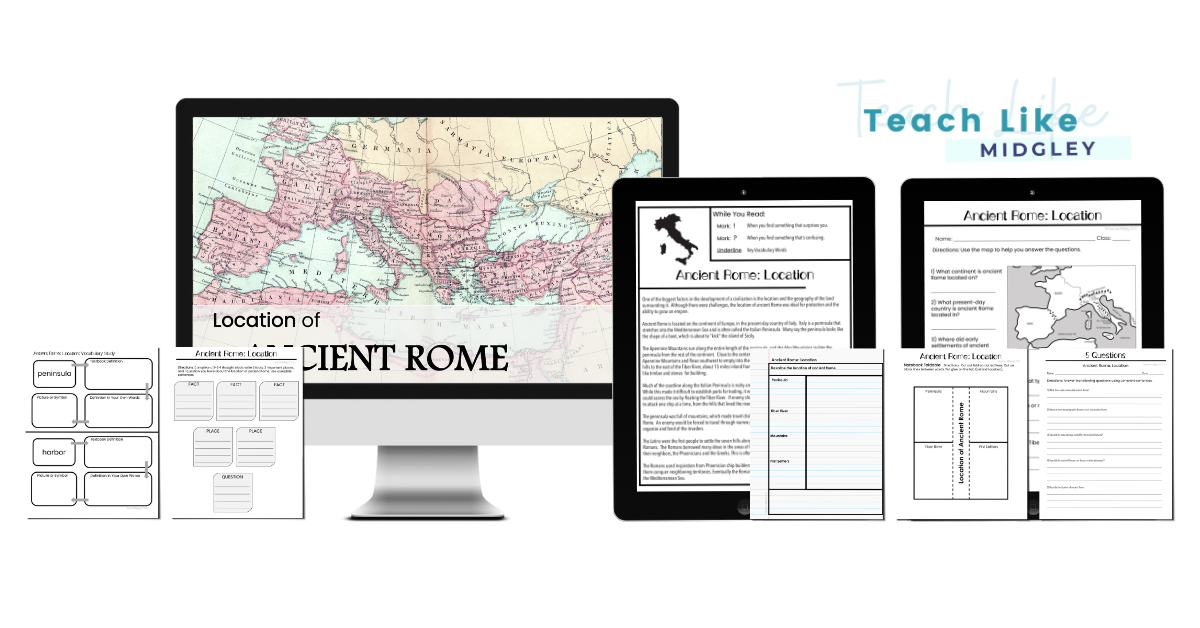
Location of Ancient Rome Lesson Set available in my TpT store
You May Also Like...
Welcome! I'm Hillary Midgley, a veteran 6th grade teacher.
I create educational materials and develop curriculum for other teachers. I specialize in teaching students how to learn through my Study Skills Curriculum. I have established fundamental classroom systems and structures for teachers to help them streamline their classroom. And my passion is teaching ancient history through engaging activities with foundations in academic skills. Here you will find resources on all of these topics and more. Learn more about me here.

|

|

|

|