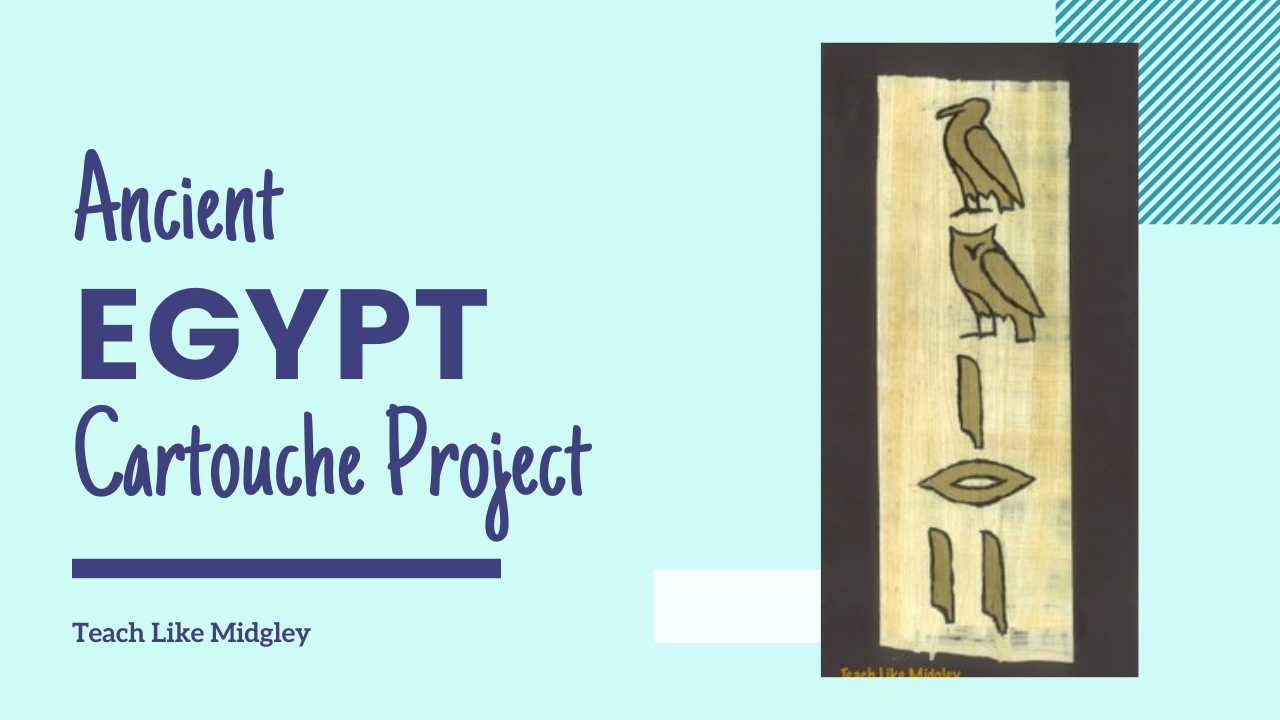
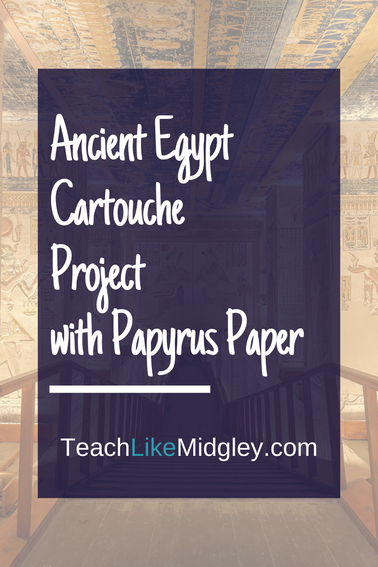
Ancient Egypt Cartouche Project
It’s no secret that I love to teach about Egypt. Who wouldn’t, right? There is so much cool stuff to learn about!
Now, while I am very dedicated to academics and making each moment of my instructional time count, I do recognize the value of doing the occasional creative crafty project with my students.
Now, while I am very dedicated to academics and making each moment of my instructional time count, I do recognize the value of doing the occasional creative crafty project with my students.
|
This project in particular is one of my favorites. And I love it for several reasons:
1 – The final product looks SO cool! 2 – The kids seem to really love it – they ask me every day when they can take them home, they are so proud! |
3 – It gives them a new experience. The feel of writing on papyrus paper (even if it’s just from a craft store) is super cool.
4 – It generates excitement for the subject of study.
5 – Did I mention they look cool?
The day before this project, we focus on the core content about the written language of ancient Egypt. Students take a few notes and we discuss the following:
* Hieroglyphics
The vast number of symbols – over 750! Some are ideograms (a single symbol stands for a whole idea/object/word) Some are phonograms (a symbol that stands for a sound)
Of course I try to relate the phonograms to our English alphabet.
* Scribes
Going to scribe school was the only opportunity Egyptians had to change their social class. It was hard work, in a harsh environment, but scribes were well respected and could earn a sizable living working for the government and religious officials.
* Papyrus Paper
One of the many great inventions of the ancient Egyptians. Class can get really exciting if you have an example to share with students.
* Rosetta Stone
No discussion on Egyptian hieroglyphs is complete without discussing the Rosetta Stone! Found by the French in 1799, this stone unlocked a lost language in 1822 when Jean Francios Champollion cracked the code.
After notes and discussion I distribute an alphabet chart and we talk about translating student names into hieroglyphic symbols.

|
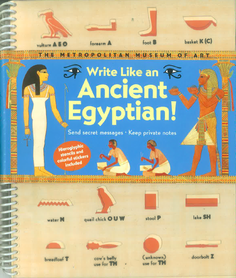
Here’s a great example that I found in a book from the Metropolitan Museum of Art Write Like an Egyptian!
|
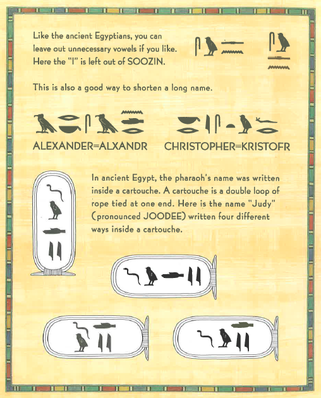
It explains how the rope of a cartouche symbolizes royalty, how you can write the name vertical or horizontal, and you can even stack symbols. This can be extremely helpful for students with long names.
Then I give students the chance to make decisions about what their name would look like, and practice the hieroglyphs in their notebook.
Then I give students the chance to make decisions about what their name would look like, and practice the hieroglyphs in their notebook.
|
For the Project:
In past years, I always used gold acrylic (craft) paint. Then thanks to a grand idea from a colleague, I discovered metallic sharpies! Wow, what a difference that made! It eliminated 4 steps from our set of directions and really simplified things! Plus, students were able to be more detailed with the sharpies than with brushes. *If you are worried about cost, however, I would probably stick with the $6.00 bottle of paint and the $7.00 pack of cheap paint brushes. Since metallic sharpies can run you $2 or $3 each. |
Materials Needed:
Black Construction Paper – trimmed to 4in x 12in – one per student
I bought regular construction paper from my district supply store for pretty cheap.
Papyrus Paper – trimmed to 2in x 6in strips – one per student
I ordered papyrus from Amazon and it was very reasonable. It cost me about $20 for all 130 students
plus extra.
Glue – also note you will need real glue, NOT glue sticks!
Gold/Bronze Craft Paint OR Gold/Bronze Sharpies
I found that one bottle of paint would be enough for all my students if I gave each one just a small blob.
If you have a few extra bucks and are looking for simplicity, go for the sharpies. You don’t need one per student – I found that just having a dozen worked fine – not every student will be on the same step at the same time.
Black Sharpies
These are a must. Again, about a dozen works fine. I ordered mine from my district supply store for fairly cheap.
Clear, Step by Step Directions!
I walk my students through each step (which I post on the board) before I even distribute materials and let them begin. I find it to be so much easier this way. Plus, it is excellent practice for these kiddos to work on following multiple instructions.
Step 1 – Your first and last name on the back of your black paper
|
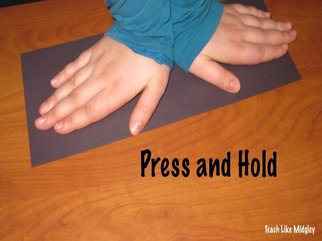
Step 2 – Glue papyrus to black paper – press & hold
(papyrus is naturally curvy – it helps to press these papers together for 3-4 minutes for it to finally take hold) |
|
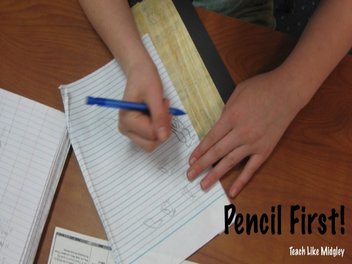
Step 3 – Gently pencil in your hieroglyphic symbols + Make them large! + Space them out! + Use your practice page to guide you Step 4 – Raise your hand for a gold sharpie
+ color in each hieroglyph 
|
Step 5 – Raise your hand for a black sharpie + outline each hieroglyph Step 6 – Return your black sharpie – you are done! |
It is also beneficial to provide them a step 7, which tells them what to do with their completed project and what they should work on next ;)
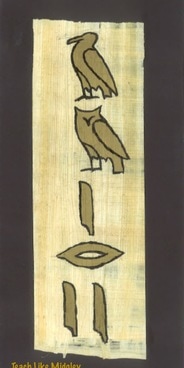
Tada! Now you have beautiful hieroglyphs to decorate your classroom! Until you are tired of the begging and are willing to send them home with students!
You May Also Like...
Let's Connect...

Welcome! I'm Hillary Midgley, a veteran 6th grade teacher.
I create educational materials and develop curriculum for other teachers. I specialize in teaching students how to learn through my Study Skills Curriculum. I have established fundamental classroom systems and structures for teachers to help them streamline their classroom. And my passion is teaching ancient history through engaging activities with foundations in academic skills. Here you will find resources on all of these topics and more. Learn more about me here.

|

|

|
|
You Might Also Like...
*Teach Like Midgley contains affiliate links with Amazon. See full disclosures.